How to Clean and Prepare a Raccoon
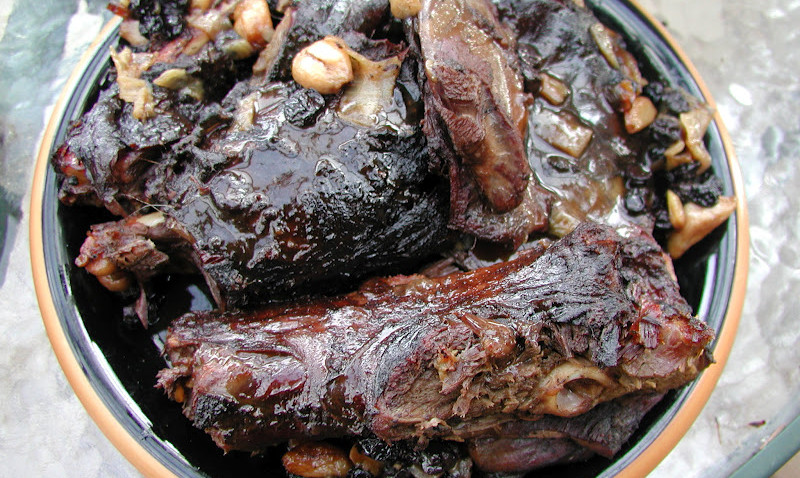
Raccoons are a nuisance for many city and suburban dwellers, and trapping and removing them tends to be the priority in these areas. However, raccoons can also be cleaned and eaten for food. While this may sound extreme to many people, the reality is that raccoon meat has been an abundant and tasty part of meals in many parts of America for years.
Cleaning and cooking raccoon is very easy, and you can use the fur to make anything from hats to coats. Let’s take a look at some simple steps and you can start exploring the many meal options that raccoon meat will give you.
Preparing the Animal
Raccoons are dirty animals, inside and out. It is important to clean them up really good as you go along to avoid coming into contact with pathogens that can make you sick. We’ve talked about the importance of good sanitation when preparing raw, wild meat, and raccoons are no exception.
This is especially true when it comes to their fur, which can get filthy as they scamper from place to place and pick up all kinds of debris along the way. You should always wash, comb and rinse the fur before starting to process the animal. Sometimes a good hose-down or dunk in some water is enough to get the fur clean.
However, sometimes you may need to comb or brush out debris. It’s easier to work with wet fur while brushing. Get it good and wet and start brushing in strokes that go from front to tail. You can use a comb or a brush or even run your hands through the fur in a similar fashion as well. Just make sure to wash your hands before touching anything else when you’re done.
Skinning the Animal
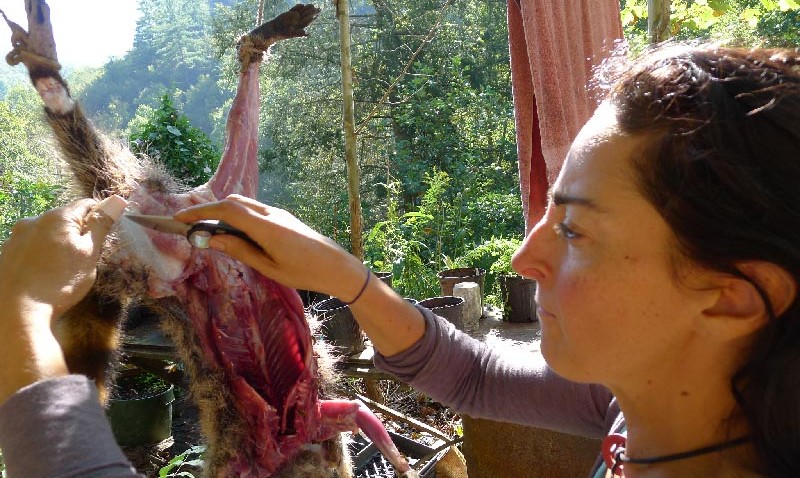
Place the raccoon on its back on a hard surface. Spread its legs open and imagine a line that extends from above each ankle on the inside, along the lower leg, inner thigh and meets in a place near its crotch. Slice a cut along this pattern. You can make the cut with anything from a survival or hunting knife to a good pair of scissors. Pull the fur and skin upward as you cut to avoid gouging the meat, blood vessels and lower organs of the animal. You will notice a good deal of play due to the “bagginess” of the raccoon’s coat and skin.
Cut out a circle of fur around each leg where you made the initial cut. This will make peeling off the skin and fur much easier, and it will also maximize the amount of fur that you can use later.
The next step is to cut a semicircle that begins along the line above the genitals that you made earlier. Cut the circle part to the left and right of the genitalia and anus and have the circle arc just below the tail. Again, you want to pull up the skin as you cut so that you don’t gouge anything beneath the skin.
Next, cut a line down the middle of the bottom of the tail that begins at the circle cut you just made. Cut as far as you can, between about ½ and ¾ of the way down the tail. Depending on the size of the animal and the thickness of its tail, it may be next to impossible to cut all the way to the end. Just stop when you meet resistance as you are cutting and you can snip the end of the tail later.
The next step is to yank the fur over the body of the animal now that you’ve loosened the skin from the ankles and around the pelvic area. If you are skinning a male raccoon, you will need to cut off the genitals before pulling up the fur, otherwise it will tear or get stuck on the way up. Pull the fur up over the body until you get just below the shoulder area. Let it get pulled up upside down, just as you would remove a wet t-shirt.
Be careful when you start getting to the shoulders and arms. This area has a lot of fat mixed with meat, and it’s also difficult to separate the skin. Consider using your fingers to peel off the skin and making small cuts as you move along. Make cuts around the elbows and beneath the shoulders if necessary. Remember, the goal is to get as much skin and fur off of the raccoon in one piece as possible.
Keep pulling the fur over the head, cutting along the neck as necessary. You will need to make a cut below the jawline that extends to each ear as well as cuts around each ear and the eyes. The skin around the nose is attached by strong cartilage and connective tissue, and you will need your knife to pry it loose.
Hopefully, you can keep pulling the skin up and over the head until it is free from the body in one piece. However, you can be less delicate if keeping the pelt is not important.
Preparing the Meat
Split the carcass in half from just below the shoulders along a line that goes through the rib cage to the tail. Cracking or cutting through the ribs will take some practice, but it’s easy once you get the hang of it. It’s easier to cut through the abdominal cavity, but it’s very important that you do not make the cuts deep enough to pierce any internal organs. The fluids that spill out from pierced organs can taint the meat, and they smell incredibly foul.
Once you’ve cut open and spread the carcass apart, you can remove everything and discard or process according to your needs. You also want to remove a section of the anus and chop off the tail if desired. You can also cut off the hands and feet and head at this stage as well. Wash and rinse out the inside of the carcass, making sure that all of the bodily fluid has been removed.

Now you can process the meat as desired or simply cook the carcass over an open flame. Just make sure that you follow basic meat-handling guidelines when preparing the carcass for storage.
Skinning a raccoon is not difficult or a time-consuming process, and the pelt can provide valuable fur while the meat can provide a nice and nourishing meal. Just make sure that you are processing a raccoon that looks and ‘feels’ healthy, and keep in mind that some raccoons have fleas. Take the plunge and skin, process and cook a raccoon. Chances are that you will end up adding this abundant meat to your survival menu options once you’ve tried it for yourself.


