
Building a Simple Dakota Fire Hole
A Dakota fire hole is a time-honored way to build a fire that, surprisingly, many people do not take advantage of. It is a very simple and efficient technique that can be used almost anywhere, and it is also resistant to inclement weather. You can build one with your hands, or you can use a spade, trowel or stick to get it started.
Digging the Holes
The name of this technique is misleading because you need to dig two holes and a tunnel for it to work properly. The main hole will be where you place your wood and have your fire. The other hole is about an arm’s length away and about a third smaller. You will connect the two holes by digging out a tunnel about the diameter of a softball. Air will enter the smaller hole and get sucked through the tunnel and feed the fire. This is why this technique eliminates the need to create a fire pit or large campfire and is perfect for cooking or drying wet fabric or clothes.
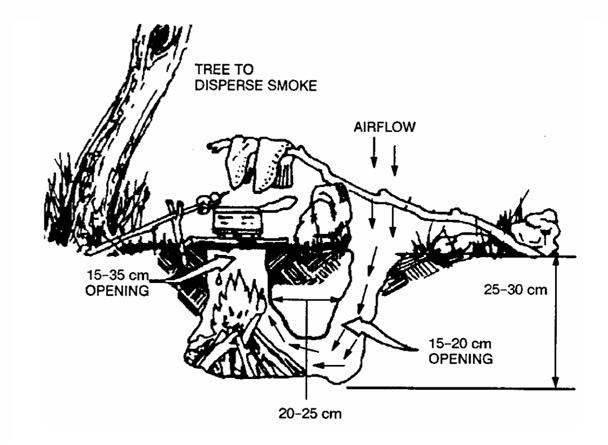
There are no hard and fast rules when it comes to the size of the fire hole, but most people dig out one that’s at least a foot to two feet in diameter and a foot deep. You want to create a thick mound around the hole with the dirt that you are excavating. This will provide a safety barrier while also channeling the fire’s energy into a concentrated space. It also gives you a surface area to use for a number of different purposes.
Do the same thing with the second, smaller hole, but don’t dig it too far away from the main pit. Ideally, the edge of the hole should be about 18-24 inches away. This hole should also be about a foot deep. Once you have dug out the second hole, start to excavate the tunnel. It is easier to get the hole started with a stick, but you can use your bare hands. Don’t water the soil if it is dry. Make sure that the hole is wider than your hand to enable you to remove dirt as you dig out the tunnel. Also, if the tunnel is too narrow, it may reduce the amount of air that feeds your fire.
Building the Fire
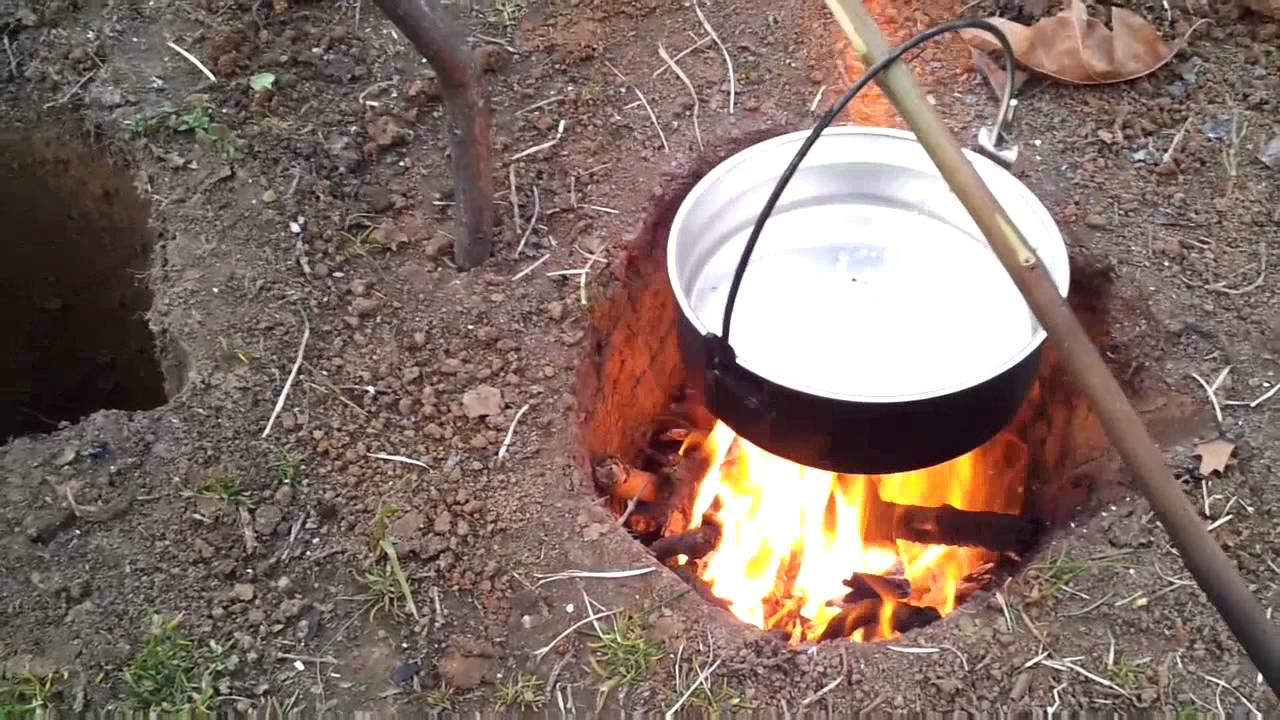
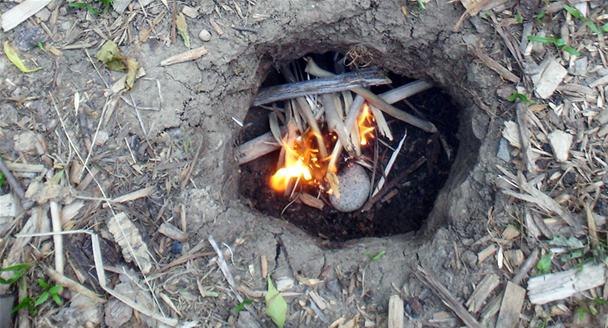
Once you have connected the two holes and removed the excess dirt, you can start to build the fire. But, you need to do it from outside of the hole, otherwise it won’t light. The most efficient way to get started is to organize your kindling material and wood by placing them in piles according to type and size. Arrange the piles according to the order that you will put them into the hole. So, put the ignition and kindling material next to the hole, followed by a pile of twigs or brush and then a pile of sticks and so on. This way, you will be able to start the kindling, place it in the hole and then quickly add the other material before the starter fire goes out.
However, once you have a good light on the fire, and it is starting to burn the thicker branches, you can simply add more fuel by putting it directly into the pit. You should have no trouble keeping the fire going as long as the tunnel is wide enough to channel the air. The fire should also be able to withstand a decent amount of wind and rain as well. But, if you are working in inclement conditions, you may want to dig a deeper hole to accommodate more wood and shelter it from the elements.
Once you are finished with the fire, you can either let it burn itself out or throw some water on it. However, the safest thing to do is to fill the air hole with dirt and starve the fire of oxygen. This will ensure that it doesn’t re-ignite once you have left the area. It also eliminates the potential risk of someone or an animal from stepping or falling into the holes and injuring themselves.