
Make Glue From Hide in a Few Easy Steps
Glue from hide has been made for hundreds of years, and it still works wonders. While most people
get their glue from store-bought alternatives, few know that they can make their own at home. All that
is needed is some scraps of hide, water, a pot for cooking and a strainer. You can make this at home or
out in the field, and learning this trick can put you at a distinct advantage during a survival situation.
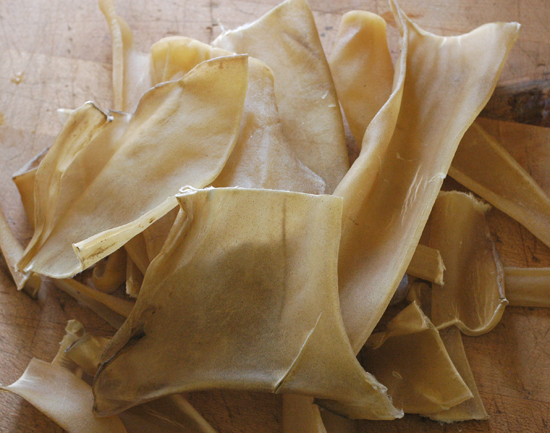
The first step is to cut your hide scraps into small pieces. While you can use strips or even put the
whole piece in the water, small pieces will process more quickly. You will also be able to extract more
of the “juice” that makes this trick work. So, take the time to cut the hide now and enjoy a bigger and
more effective product later.
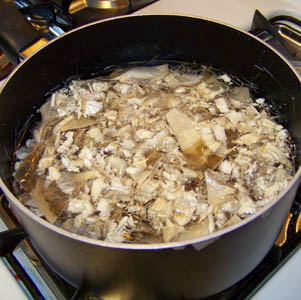
Place the hide pieces into an old cooking pot and fill it with water until all of the pieces have been
covered. Turn up the heat and let the mixture boil. Reduce to simmer and let it cook for a few hours
until you end up with water that looks milky and creamy. Keep cooking until the water stops becoming
more colored. The amount of time that it will take depends on the type of hide you are using, but the
process should take at least three and maybe up to five or six hours.
Make sure to do this in a well-ventilated area because the hide will smell horrible as it cooks. It will
also ruin whatever pot you are using, which is why it’s important to choose one that you don’t need for
cooking.
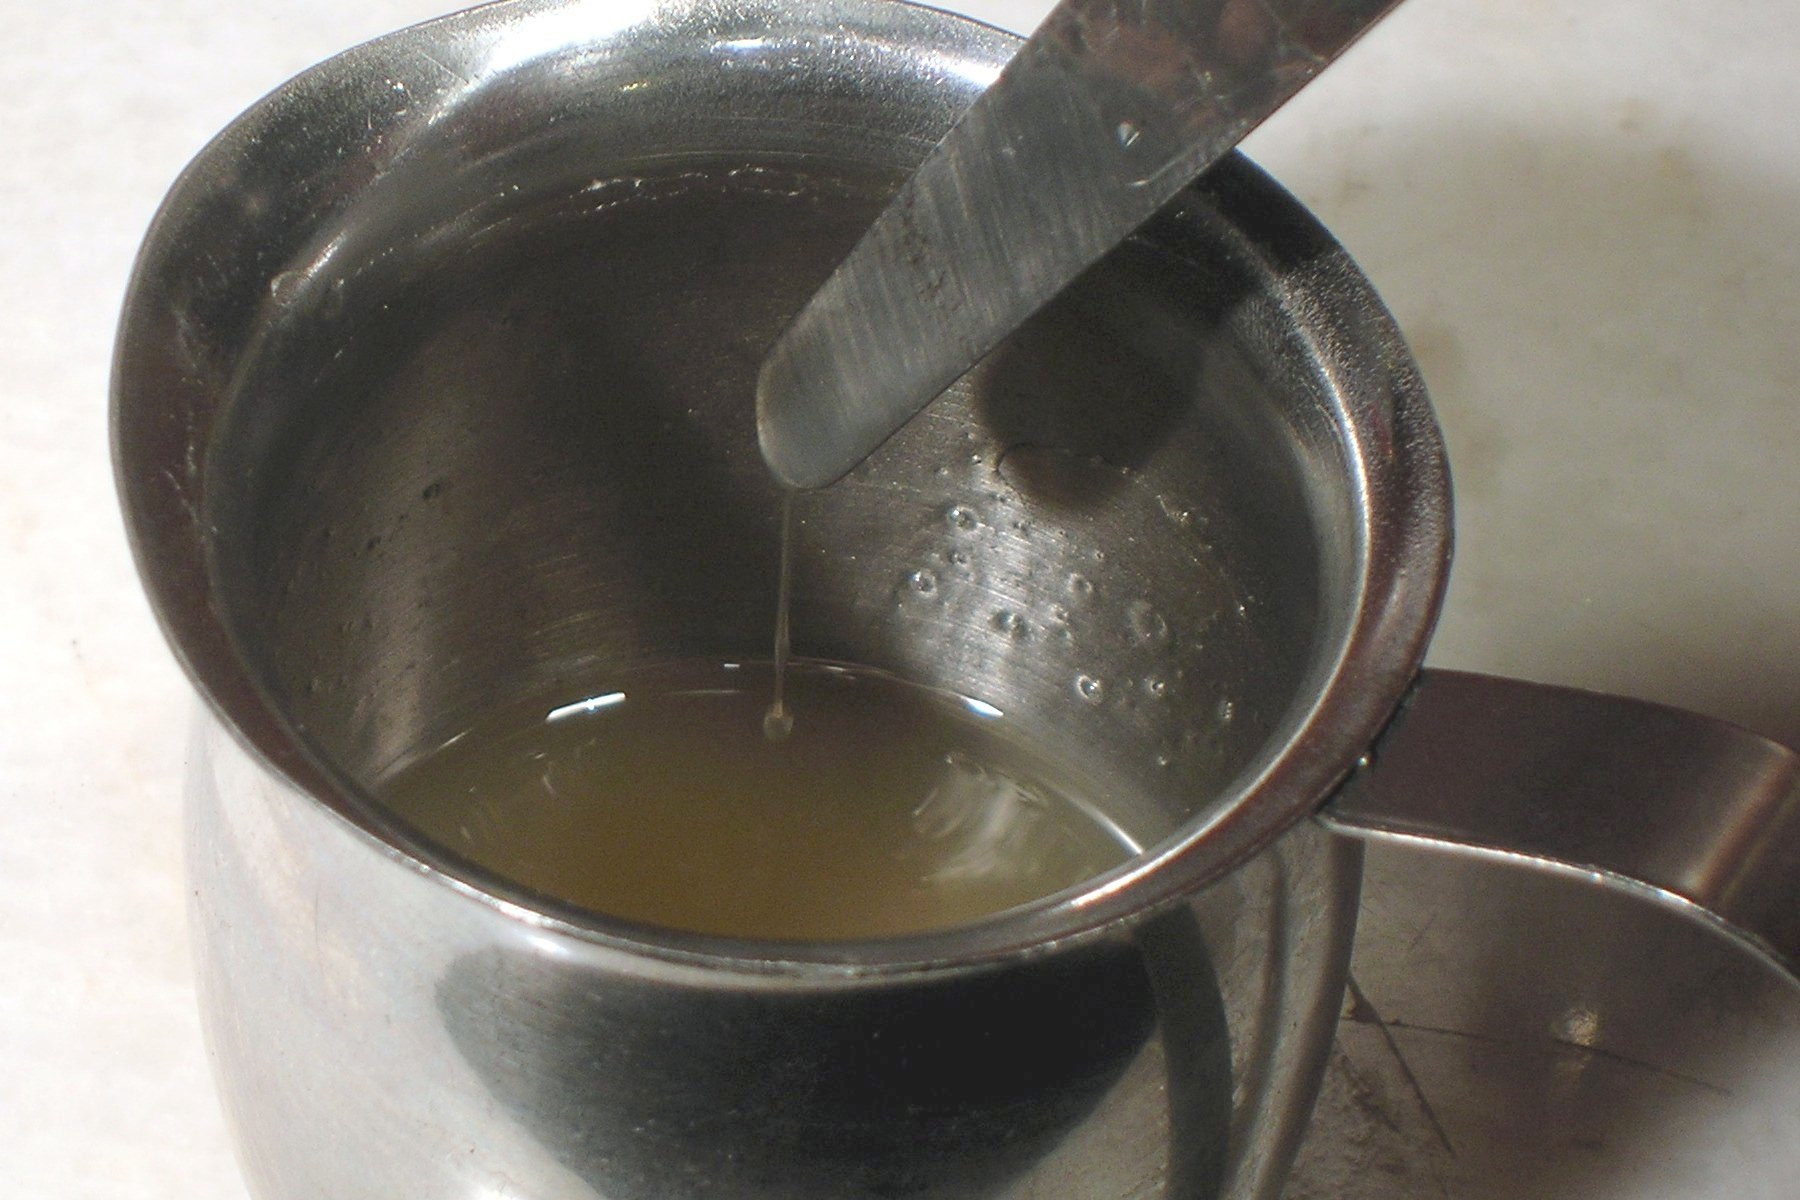
Remove from heat, and pour the mixture through a strainer. If you don’t have a cooking strainer, you
can use nylon pantyhose, screen material or even some thin cloth if necessary. Make sure that you
squeeze out as much of the moisture as possible. Discard the bits of hide and pour the liquid back into
the pot. Continue heating until some of the excess water boils off and the mixture thickens. Stir as you
cook in order to avoid burning the pot and creating a foul odor that you will never forget.
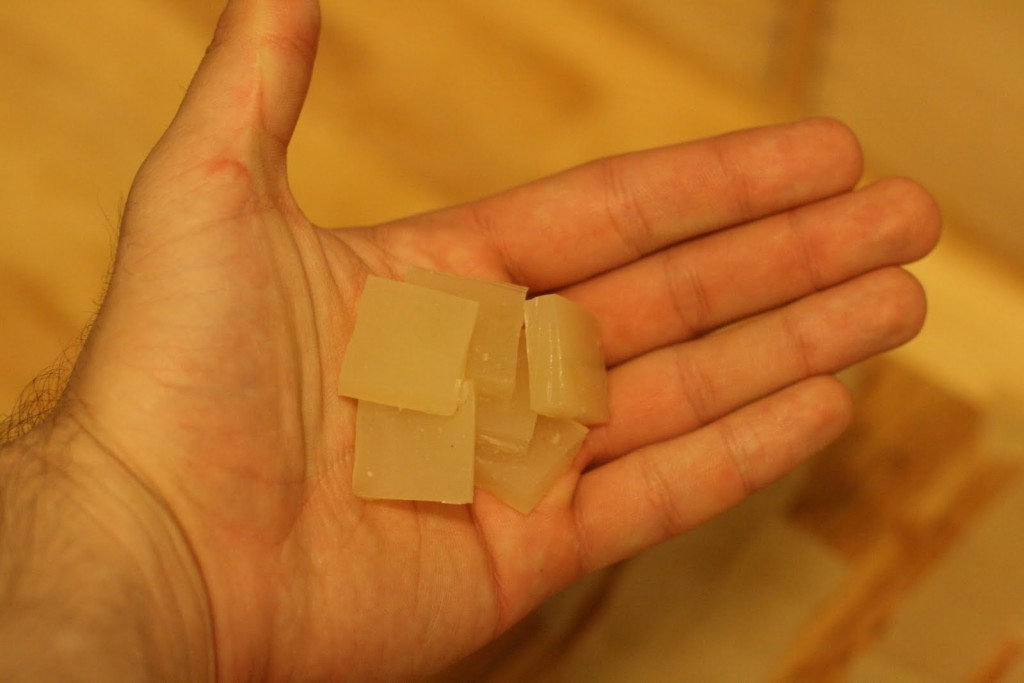
Strain the liquid once again, but put it into a pie tin or other type of shallow container that you have
laying around. Allow it to cool completely. The material will be gooey but still retain its shape. Take
it out from the pan and place it on the counter or work bench and cut it into small pieces with a sharp
knife. You can also break the material apart with your hands, but the material will be sticky and
difficult to handle.
Set them aside in a cool, dry place and wait until all of the material is completely dry. Store in a
waterproof and air-tight container for future use. Make sure that you do not store moist material,
otherwise mold and other organisms can grow and create a foul-smelling and useless batch.
When ready to use, simply take the amount that you need, place in a pot along with a little bit of water
and heat the mixture. Stir as it begins to liquefy and immediately remove from heat once all of the
pieces have dissolved. Let it cool enough to handle before applying the glue.
Keep in mind that the strength of the glue will decrease as you add water during the heating process. If
the glue is too runny, add more bits of material. If it is too thick, add some water. It may take some
practice before you get the proportions just right, which is why it’s so important to learn this trick now.
However, the end result will be a fantastic glue that can be applied to almost any project, rivaling the
effectiveness of store-bought products.