
Cleaning a Pistol Without Making a Mess
You don’t have to make a huge and messy project out of cleaning a pistol, and it is a job that can be done in as little as a few minutes. A lot of people take unnecessary steps and end up over-cleaning their weapon. This can actually lead to more problems with both dirt along with wear and tear on the weapon. Let’s take a look at a practical and efficient way to keep your pistol clean, well-maintained and in optimal firing condition.
Field Strip the Pistol
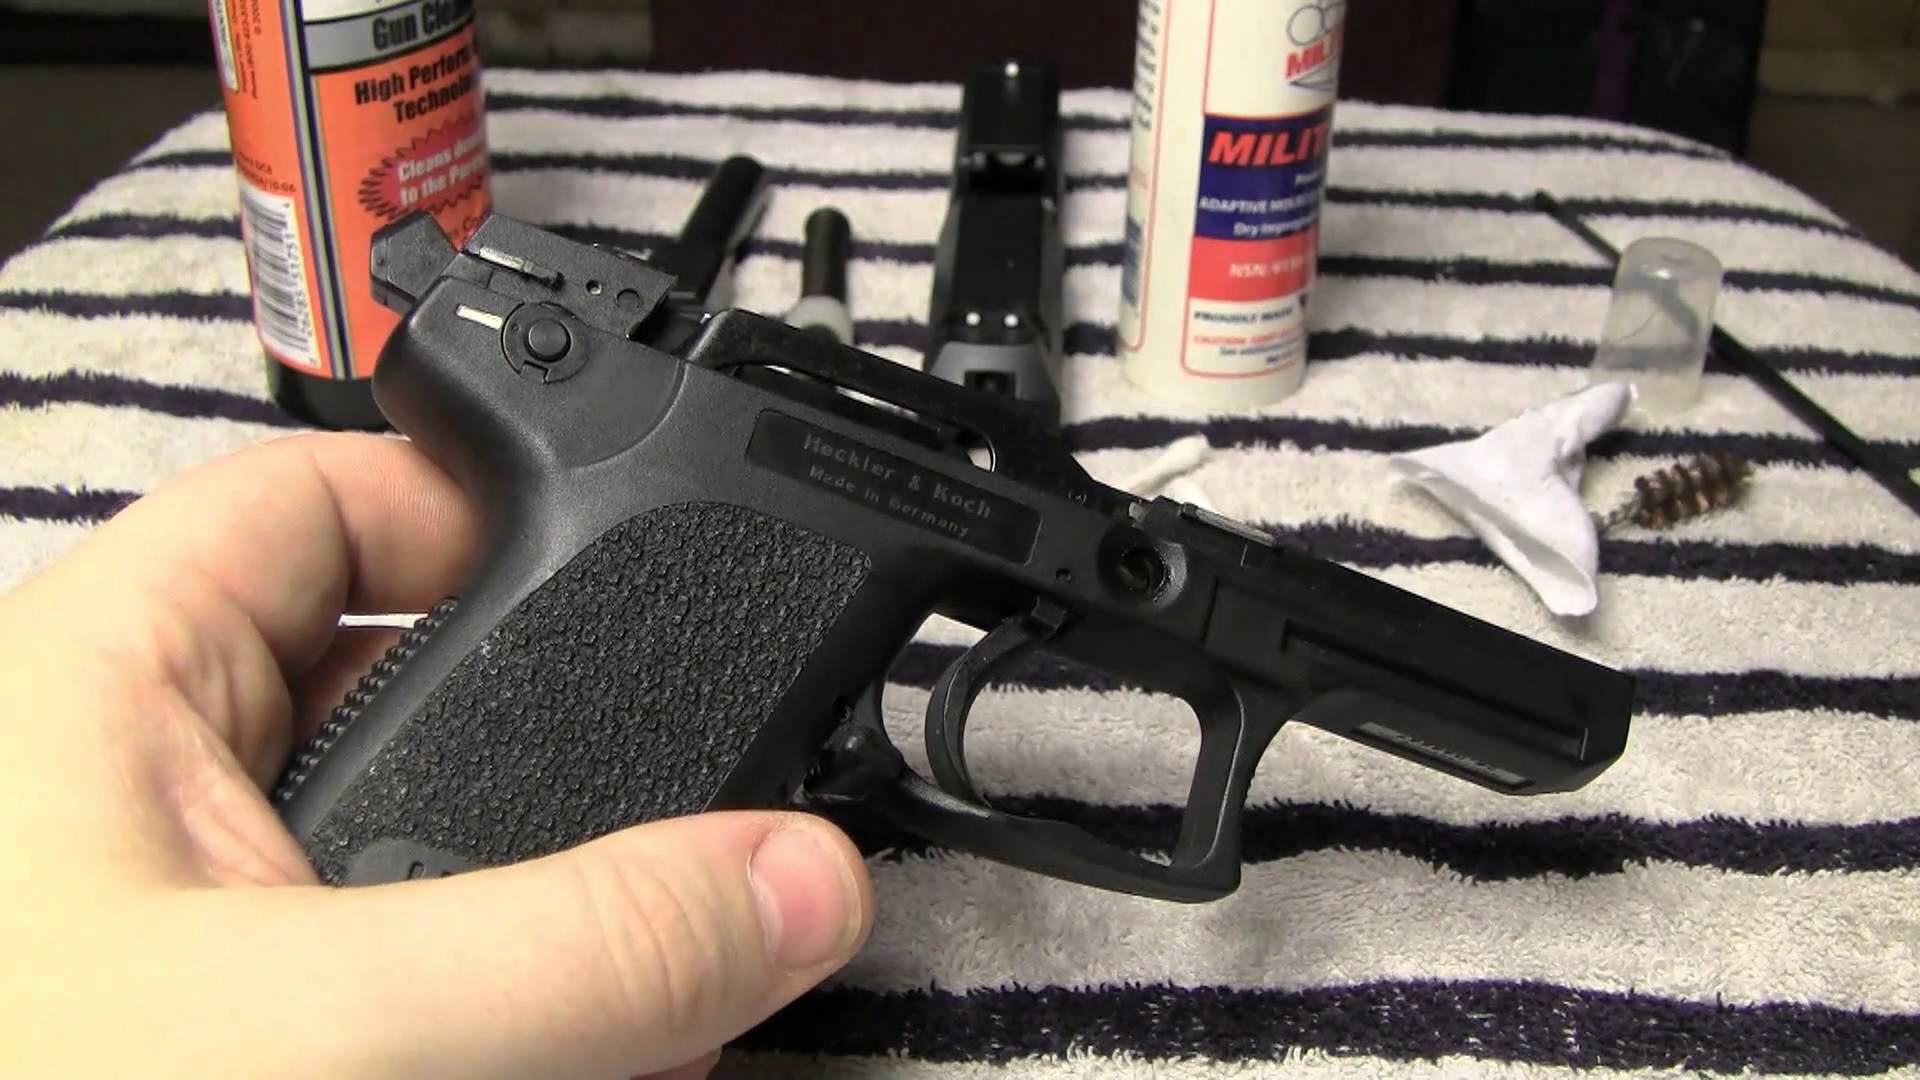
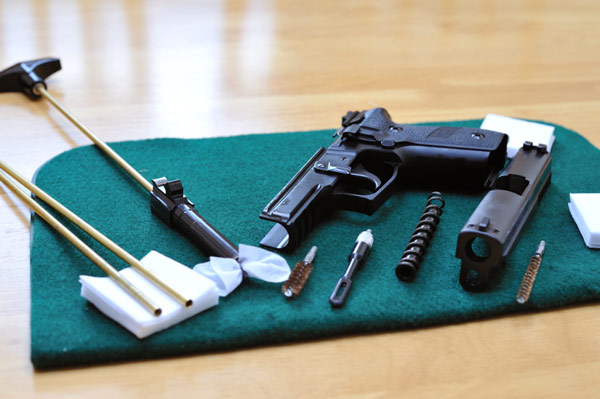
The first step is to field strip your weapon. This essentially involves removing the main moving parts of the pistol without disassembling the entire gun. Remove the slide, barrel and recoil spring, along with any other major components that may be unique to the model of your gun. Set them aside on a clean towel or cloth.
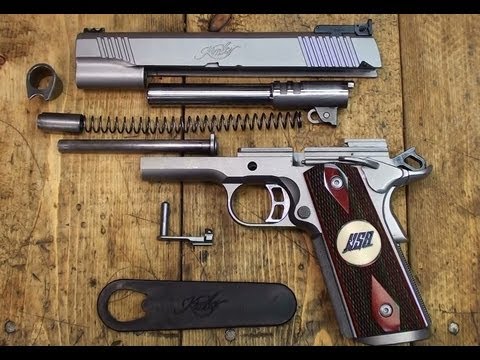
Don’t worry about disassembling the handle, action or removing the sights unless the gun is in need of a major overhaul. Most of these components do not attract a lot of dirt under normal circumstances, and you risk losing parts or compromising the accuracy of the weapon by messing with these assemblies. You shouldn’t have to worry about cleaning the clip unless it got dirty as well.
General Cleaning
Take a dry mechanic’s rag and wipe down the gun and it’s components, but don’t use any solvent. The dry rag will remove quite a bit of dirt, grit, grease and grime from the pieces, and this will save you some time and hassle later on. Work the rag into areas where you can get rid of a lot of the gunk, but don’t worry too much about trying to get at those narrow crevices and ridges.
Take the cleaning solvent and pour it into a small cup, plate or even use the cap from the bottle. You want to avoid dunking the brush into the bottle of solvent, otherwise the solution can become contaminated with the grime from the gun after it’s been brushed. Set some solvent aside that you can dunk the brush with, and then discard the rest after the gun has been cleaned.
Dunk the brush into the solvent a couple of times and then work the brush through the barrel in a forward motion. Don’t go back and forth during this initial pass, otherwise you can spread the residue and make a bigger mess inside the barrel. Pull the brush through the end of the barrel and set the barrel aside to allow the solvent to eat away at the grime for a few minutes.
Take a Q-tip or toothpick and dunk that in the cup or cap of solvent and start to work your way over the contours of the various components. Work your way along the rails on the gun, clean the ridges along the slide, and clean any debris that may be around the recoil spring. Take the toothpick and use it to gouge out any pockets of debris and grime in hard-to-reach places.
Check the recoil spring for any signs of grime or debris. Chances are that there won’t be much there to worry about. However, you gently brush the spring with a clean toothbrush to get at any impurities before wiping it down. You can also use a toothpick to gently remove any stubborn pockets of goo.
Keep in mind that you don’t need a lot of solvent, and a small soak into the cotton swab will be more than enough. You can always give it another dunk or two as you move along. The idea is to minimize the amount of liquid that will be flowing over the gun and components in order to minimize mess and extra clean up time. Wipe down the components with the rag once you’ve finished cleaning them and return to the barrel.
Dunk the cleaning brush into a little bit more solvent, and this time you can insert the brush into the barrel and run it back and forth as necessary to give it a good cleaning. Once you’ve scraped everything loose, the next step is to push everything out with the jag and cleaning pad. Poke the center of the pad through the tip of the jag and push it through the barrel in a single and slow outward motion. This will cause the bulk of the residue inside of the barrel to be ejected in one pass. Keep repeating the process until there is no more residue on the cleaning pads. Make sure that you replace the pads after each pass.
Lubricating
A lot of people tend to over-lubricate their pistols, and this can lead to all kinds of problems. First, grime and grit can be attracted to the lubricant, causing the gun to get dirtier faster. Adding too much lubricant can also make the gun slippery and difficult to handle as it oozes out from various places. Finally, the lubricant can splatter everywhere after the weapon has been fired.
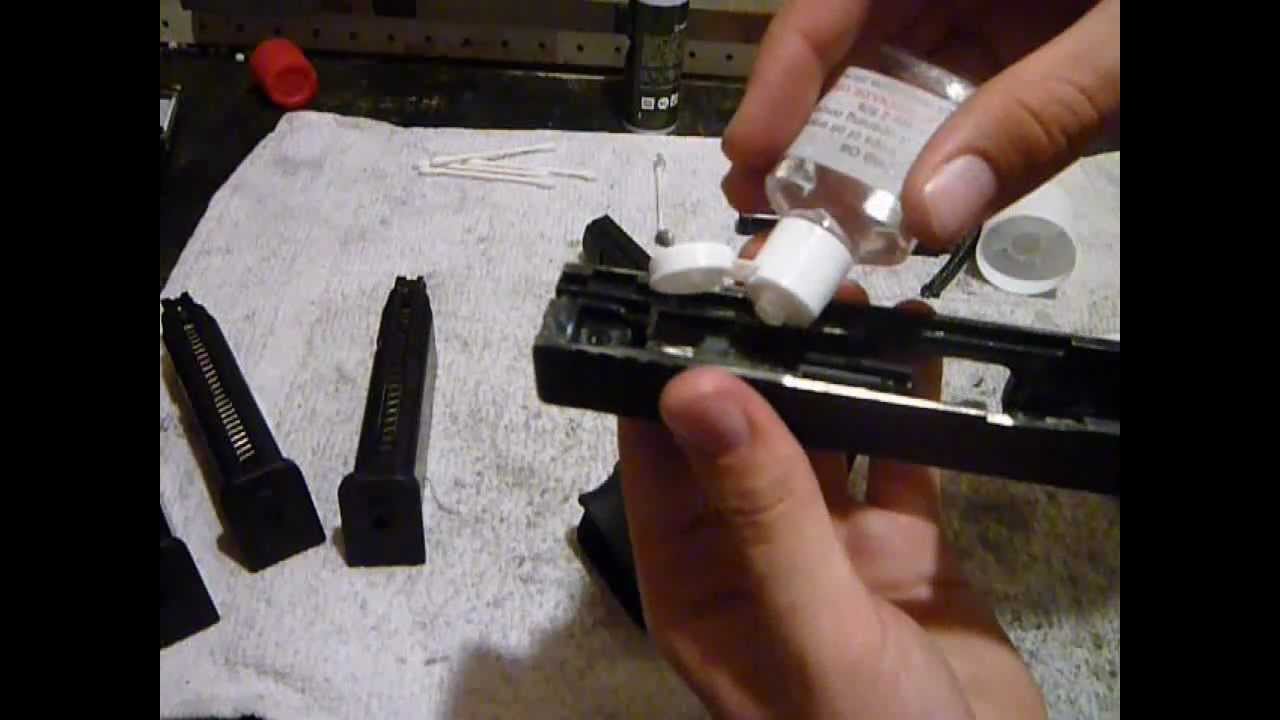
Focus on lubricating the parts of the gun that really need it. Squirt a couple of drops onto your Q-tip, and run it along the ridges and rails, nooks and crannies of the gun and components. Add a little to the end of the barrel as well as other places where you know that moving parts intersect. You can also add a little to the head of the recoil spring. All you need is a couple of drops on a couple of Q-tips to get the job done. Don’t douse the gun in lubricant. It’s a waste and completely unnecessary.
Finally, put the gun back together, pull back the chamber a couple of times and fire a couple dry shots. Check to make sure everything is running smoothly and store the gun as you normally would.
Remember that you don’t have to clean your gun after every use, and you rarely need to disassemble the entire weapon for every cleaning either. This entire process shouldn’t take more than 10 or 15 minutes at best, and it will be more than enough to ensure that most guns are in good firing condition.