
Delicious, Easy and Healthy Nut Butter Recipe
Nut butter recipes are both very easy to make, don’t require a lot of ingredients and can provide a sweet source of condensed nutrition. However, there are also some important things to think about when it comes to whipping up a batch at home. Take a look at the basic recipe below and learn how you can keep the finished product as fresh as possible for as long as possible.
Nut Butters
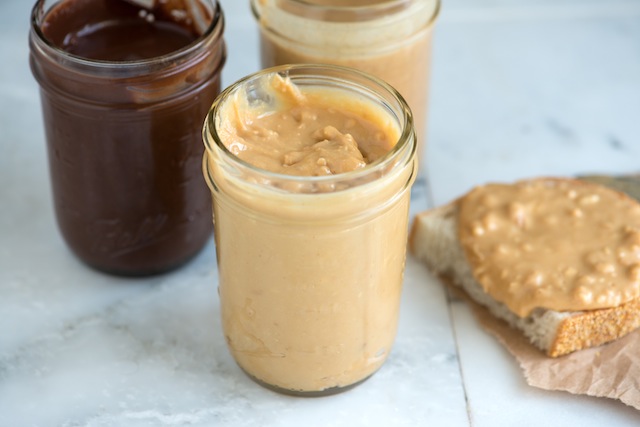
Cashews, almonds and peanuts are the most common types of nut butters out there, but you can also use softer nuts as well. The basic idea is to grind them down until they release their oils and start to get gooey. In order to do this, you will need a good food processor and some patience.
The first step is to take about a pound of the nuts of your choice and put them in a food processor. You can use raw nuts or roasted ones as well. Roasted ones tend to have a longer shelf life outside of the refrigerator, but they also have a distinctive taste that not everyone enjoys. In both cases, all you need to do is take the nuts and start processing them.
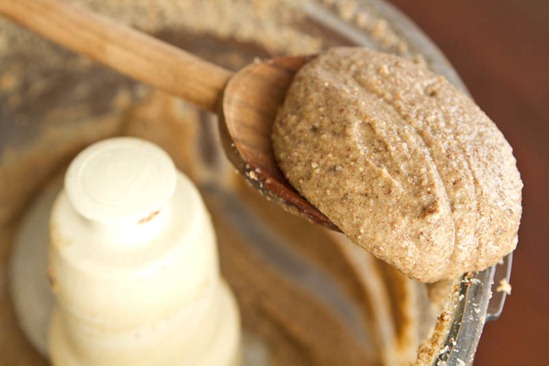
You will notice that the nuts will first break up into little chunks before turning into a coarse powder. This is the point where some people are tempted to add some liquid. You don’t have to do this, and adding liquid can actually inhibit the release of the oils that make the butter so good and smooth. Keep processing until the powder begins to get pasty, which can take anywhere from about 5-20 minutes depending on the power of your food processor.
Patience is Key
If you have a food processor with a small motor, considering making smaller batches at a time. Larger motors will make the butter more quickly. As the nuts change from a powder to a paste, the thickness can also put strain on the motor. Allow the food processor to rest for a few minutes and then start grinding again. Keep allowing it to rest every couple of minutes to avoid burning out the motor as the paste continues to thicken. However, it will start to develop a creamy and oily consistency sooner or later. Keep going until you can’t get it any smoother.
Remember to scrape the walls of the food processor as you grind in order to make sure that everything is blended evenly. Scraping the paste will also help to speed up the mixing process. Once finished, place the butter into an airtight mason jar and store in the refrigerator. It will harden up, but refrigeration or even freezing will dramatically extend the shelf life of the finished product. If you want to freeze the nut butter, place some portions into freezer bags as opposed to a mason jar. Frozen products can keep for months, and all you need to do is let them warm to room temperature or transfer to the refrigerator to warm the batches up.
Storing the butter at room temperature will keep it fresh for a few days to a couple of weeks, but try to consume it sooner rather than later. Discard any butter that develops an off-taste or bad smell.
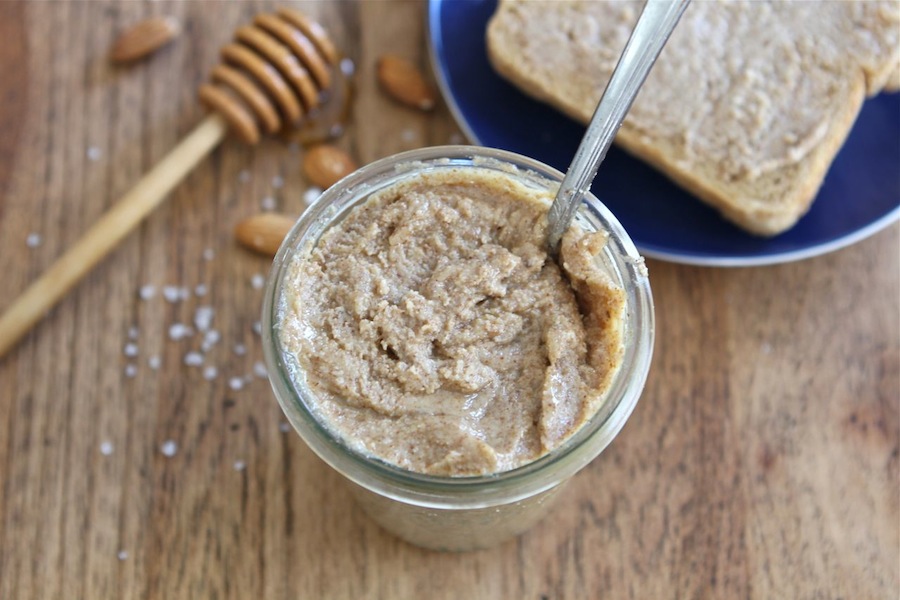
You can add a pinch of salt, dried vanilla or a little bit of honey or syrup to enhance the flavor, and feel free to experiment with different variations until you find a flavor that appeals to your tastes. However, some people report that adding honey will cause the butter to coagulate. This won’t affect the quality of the product, but you may need to stir it before serving.
Try this recipe out for yourself and see how this tasty option can be a perfect way to inject a host of nutrients into the diet of your loved ones. Nothing could be easier, and this goes great on sandwiches and toast, or you can just enjoy a spoon full of it whenever the craving strikes.