
How to Make an Improvised Glue Stick from Tree Sap
If you have a glue gun, but ran out of glue sticks, you can get use the sap from a nearby conifer tree as an excellent alternative. This is an ideal solution for projects that require some adhesion without the need for the degree of “stickiness” that glue sticks provide. Follow the steps below and see how you can create a virtually-limitless supply to have on hand.
Collecting the Sap
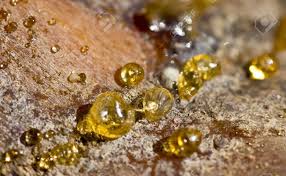
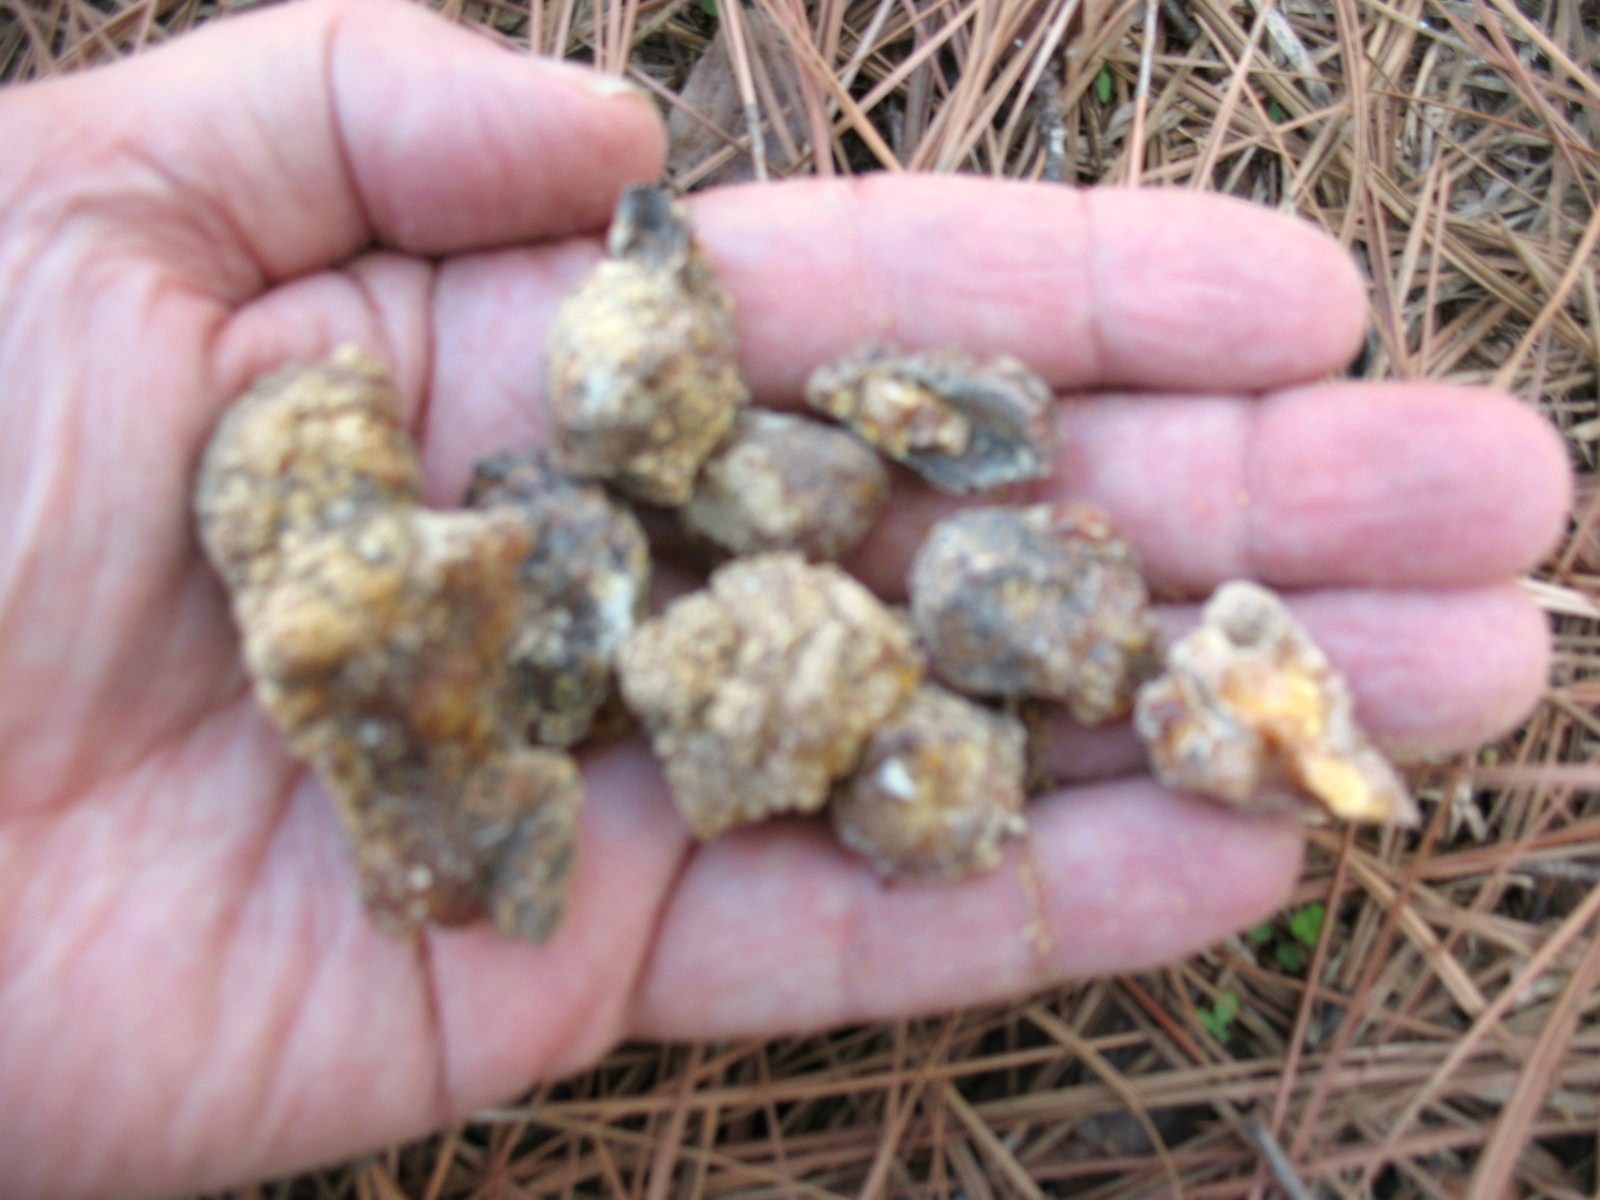
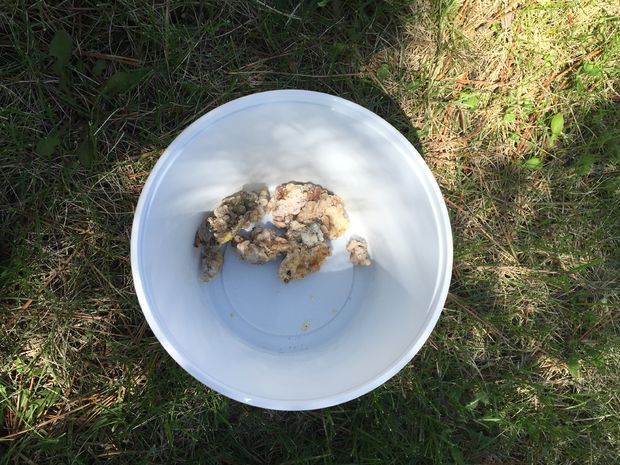
The first step is to find a tree that has large nodules of sap that are attached to tears in the bark. Choose sap from a tree that is already protruding whenever possible in order to minimize damage, and try to avoid removing all of the sap from a particular spot on the tree as well. This will allow the tree to quickly replenish what is lost. You will need an egg-sized amount of sap to create a standard glue stick. Pull off the sap and place into a container.
Processing the Sap
If you are using sap that is relatively debris-free, then all you need to do is soften the material. However, if the sap contains pieces of debris that are large enough to clog the gun, it will need to be melted down so you can remove the material beforehand. While you can achieve the same results with clean or “dirty” sap, this extra step will take some extra time and effort.
If you need to melt down the sap, place the material into a container over a heat source, or consider microwaving it as well when practical. Try to avoid boiling the sap as the material will bubble and spurt. This can end up creating a lot of waste in addition to making a mess and posing a potential hazard from being burned by the hot sap.
Once the sap has turned into a liquid, you can remove the large particles with a tool of your choice and allow the material to cool.
You want to work with sap that is warm enough to be shaped by hand or inserted into a form of your choosing. Either allow the sap that you just melted to cool down enough to touch while being able to retain its shape as you work. If you are heating up sap without big pieces of debris, simply place it over a flame or in the microwave until it is soft enough to shape with your hands.
Forming the Sap
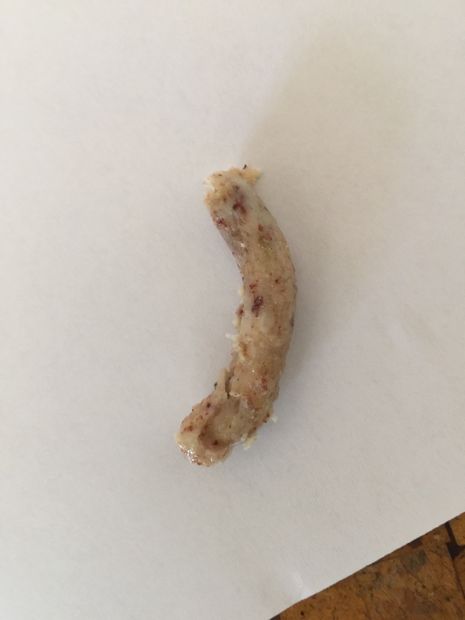
Empty pen sheaths, pieces of tubing or small pipes work well as forms. You want to make sure that the form that you use is about the same diameter of the chamber in the glue gun. The idea is to stuff the form with the softened sap, push it through and cut. The goal is to end up with a tube of sap that can be inserted into the chamber of the glue gun once it has hardened.
One of the biggest and most annoying challenges to this project is that the sap can stick to the inside of the chamber and be difficult to remove as it sticks to the inner walls. You may need to find another tool that an be used to push the sap through. You can also line the chamber with some oil or non-stick cooking spray to prevent sticking. However, then the problem is that the sap will fall out before you have a chance to mold it into shape. Cover one end of the chamber with some tape, place it on a flat surface or use one of your fingers to prevent this from occurring.
All you need to do now is let the sap cool and harden before inserting into the glue gun. You can also store sticks in a cool and dry place for future use.
As you can tell, there is plenty of room for improvisation with this trick, so feel free to play around until you find a system that works best for you. However, this is a great way to ensure that you have enough glue sticks on hand without the need to purchase and load up on supplies beforehand. Not only that, but this stuff smells really good, and there are no harmful chemicals to worry about coming into contact with.