Create a Self-Contained Water Filtration and Dispensing System
One of the biggest limitations with water filters is that they are either too small or too big for emergency use. On one hand, portable filters are excellent for bug-out or wilderness situations. However, they are not that practical for in-home use. On the other hand, large systems may not function properly during an emergency. Let’s take a look at how to create a medium-sized system that address this problem, and it is very easy to build.
Basic Items
This project only requires two 5 gallon cylindrical water dispensing containers, some filters, PVC pipe and some glue. You will also need a small saw or a good razor.
Assembly
The first step is to remove the top of one of the dispensing containers. Make the cut at the top of the body of the container, just below where it begins to taper off near the spout. Remove the top and discard. The next step is to cut holes in the bottom of the other container for the filters to stick through.
The number of holes and their width will depend on what type of filters you decide to use.
Long, cylindrical ones work best because they are already self-contained and you don’t need to create a housing for them. Some of them also have a stem on the bottom where the filtered water exits. Try to find filters that have this stem, as they are the easiest to install and anchor into the filter that we are trying to make. You can choose disposable or replacement filters depending on your needs and expectations. Just make sure to stock up on supplies so that you will have backup filters when the originals exceed their capacity.
Attaching the Filters
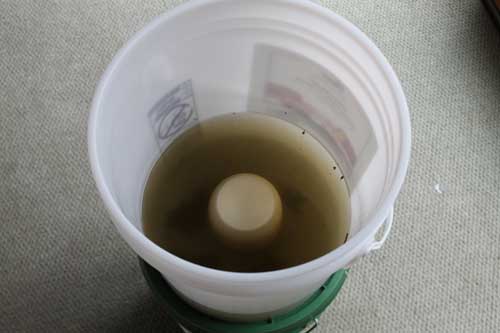
Take some PVC pipe that is wide enough to fit around these filters and cut it into 2-3 inch long sections. Place these around the filter cylinders. Place the cylinders vertically into the water dispenser and stick the stems through the holes that you just made. Move the PVC sections so they touch the bottom of the dispenser while on the cylinders. Take a pen or marker and trace around the PVC sections on the bottom.
Remove the filters and PVC sections. Take the plastic epoxy or glue and smear it around the edge of the PVC sections and place them over the spots that you’ve just marked. Hold in place until they are set. This will be used to anchor the cylinders in place.
You can also skip the marking and just apply the adhesive directly to the PVC while they are attached to the cylinders and insert into the dispenser as well. However, this can be messy, and the adhesive may accidentally join the PVC and cylinders together. The weight of the cylinders may also cause the PVC to lean and prevent the PVC from being properly seated on the bottom of the dispenser.
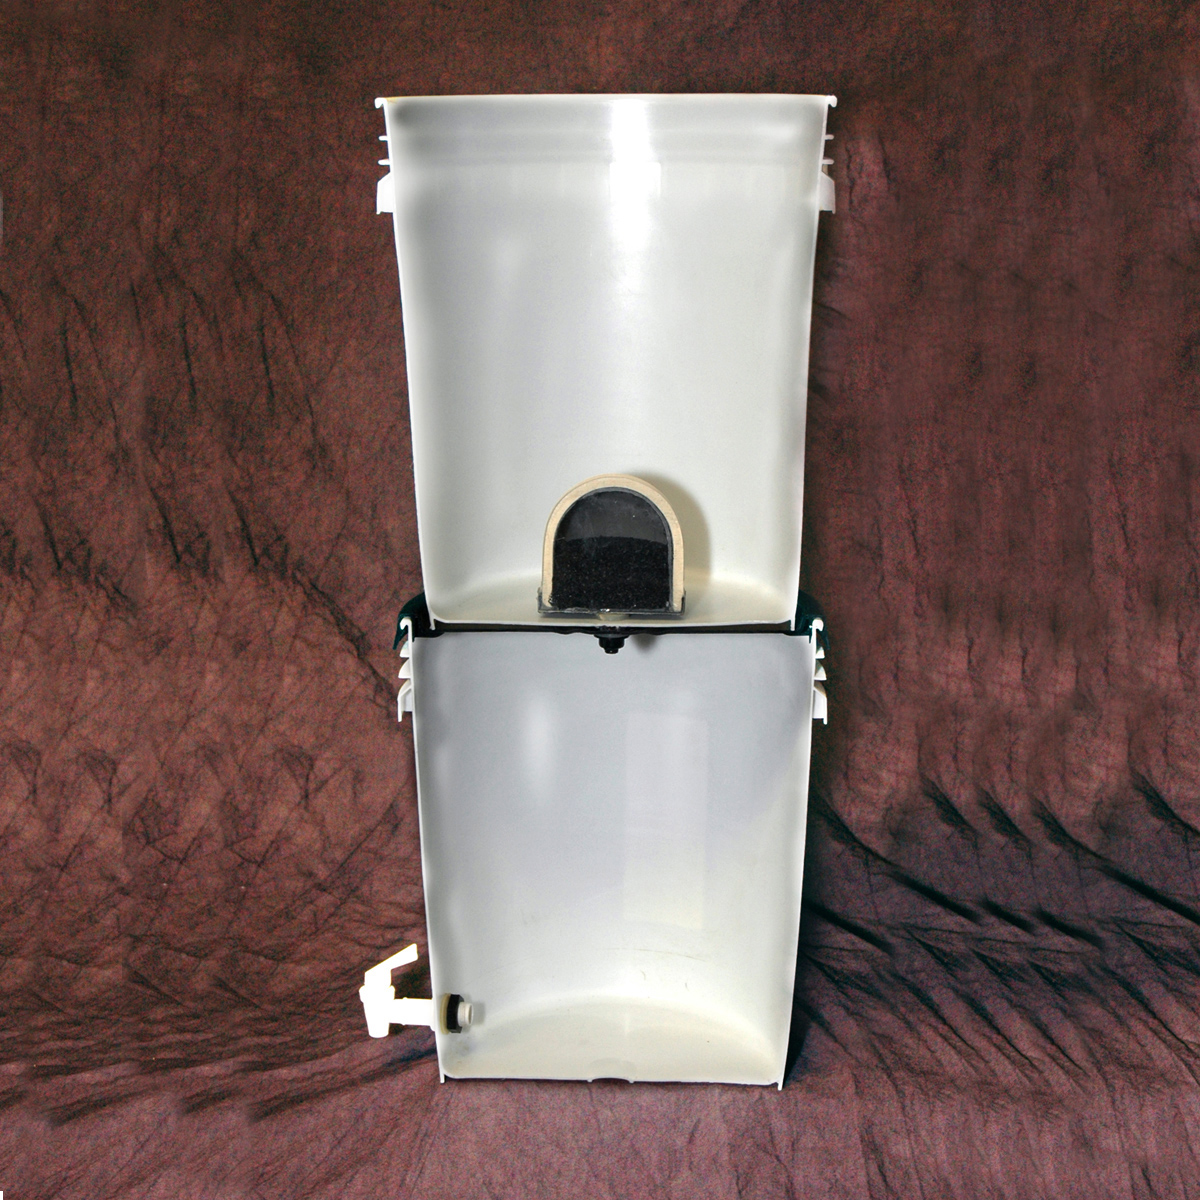
In any case, allow the sections to dry, wash and rinse the inside of dispenser and place it atop the other one. The top one should slide right under the rim of the cut that you made on the bottom one.
All you need to do now is place the filtration system in a cool and dark place, away from direct sunlight and fill with water. Make sure that you pour less than five gallons so that the water can pass through the filters before dripping into the bottom container. Depress the spout, pour yourself a glass, and you’re done.
Feel free to modify this basic process to create a system that is more tailored to your needs. However, this is a great way to have a decent supply of filtered water on hand in the home. Just remember to pay attention to how much water you are using and replace the filters as necessary.